With football season beginning once again, I thought it would be fun to do another snack recipe for your next tailgating party in between your study sessions. And what better recipe to make than the classic Jalapeño Poppers.
The origins of this dish are actually a bit mysterious, with the only agreed upon fact being that Jalapeño Poppers most likely originated in Texas sometime around 1972. Most likely a Tex-Mex derivative of the Mexican dish called chiles rellenos, these stuffed peppers became widespread throughout the US in the 80s, 90s, and 2000s, as Tex-Mex became a dominant cuisine throughout the country. And along with the increased prevalence of frozen ready-to-bake foods being sold at supermarkets, these poppers became a popular food item both at restaurants and at home.
Speaking of frozen foods, you can make this recipe ahead by stuffing and topping your peppers and then freezing them before you bake them for up to 3 months. And when you’re ready to bake them, all you have to do is bake them the same way as you would fresh and they should turn out almost exactly as delicious as they would normally. You can also bake them ahead and store them in the fridge for 3-4 days and then just reheat them in the oven until crispy and hot, and they should taste just as good as they would be fresh.
But regardless of if you save some time making these ahead of Game Day, or if you make it the day of, this irresistible combination of heat, cheese, and crunch will be a great hit at your next tailgating party or even as a delicious snack for any time of the year.
Ingredients:
- 6 jalapeños of course
- 4-6 slices bacon
- 4 oz cream cheese
- 1 cup sharp cheddar cheese (or any other melty cheese) and some more for garnish
- 1-2 garlic cloves
- Some salt and pepper
- 1/3 cup breadcrumbs
- Some green onions or chives (optional)
Step 1: Preheat Oven to 400°F (Using Convection Oven Option); Prepare Peppers, Garlic, Green Onion, & Cheese
First, preheat the oven to 400°F and if you have a convection fan option, I recommend turning this on as well. While we wait for that, we’ll prepare the rest of the ingredients, so for the jalapeños, slice each in half and scoop out the seeds and some of the membrane to make room for the filling. If you wish to make the filling spicy, give the scooped out seeds and membrane a chop and set these aside for later. Otherwise, you can just discard them if you want to keep the spice level down. Then, for the garlic cloves and green onions, mince these into small pieces. And for your cheese, give this a shred with a cheese grater, if needed.
Step 2: Cook Bacon, Leaving Grease in Pan
Next, we’ll cook the bacon, so lay the pieces in a single layer on a large unheated cast iron pan. Then, turn the stove onto medium high heat, and once the bacon starts sizzling, cook each side for 2 minutes or until it turns golden brown. Then, remove the bacon onto paper towels to cool and drain, but leave the rendered fat in the pan.
Step 3: Pretoast Breadcrumbs in Reserved Bacon Fat
Next, we’ll pretoast the breadcrumbs, so bring the heat down to medium heat, and then add in the breadcrumbs and some salt. If you need to, you can add more oil, but there should be plenty of fat from the bacon. Give this a light toast, about 1-2 minutes or so, stirring regularly, until it’s evenly golden. I accidentally burnt my breadcrumbs a little bit since the oil was hotter than I expected, so just try to pay attention to the breadcrumbs and take it off the heat if it’s browning too much. But once they’re ready, transfer your toasted breadcrumbs to a bowl and set them aside for later.
Step 4: Chop Bacon into Crumbs; Mix Bacon, Cheddar Cheese, Minced Garlic Cloves, Jalapeño Seeds/Membranes (if using), & Salt & Pepper
Once your bacon has cooled down and crisped up, finely chop them into crumbs. Then, transfer about 3/4ths of the bacon into a large bowl (saving the rest for later topping), and add in the cream cheese, most of the cheddar cheese, minced garlic cloves, jalapeño seeds and membranes (if using), and some more salt and pepper to the same bowl, and give this a stir, until everything is well combined.
Step 5: Stuff Jalapeño Halves w/ Filling
Once your filling is ready, stuff the jalapeño halves with the filling, by scooping about 1-2 tablespoons of filling to fill each of the jalapeños slightly above the rim, making sure not to overflow them.
Step 6: Place Stuffed Peppers Onto Wire Rack Set On Top of Aluminum Foil-lined Baking Sheet; Top w/ Rest of Shredded Cheese & Prepared Breadcrumbs
Then, place your filled peppers on a wire rack set on top of an aluminum foil-lined baking sheet, and top them with the rest of the shredded cheese, pressing it down to help the cheese stick to the filling. And then, spoon over your pretoasted breadcrumbs over the cheese.
Step 7: Place Your Prepared Peppers into the Oven and Bake for 10-15 Minutes
The oven should be done preheating by now, so place your prepared peppers into the oven and bake them for 10-15 minutes, or until the cheese is melted and jalapeños have softened slightly.
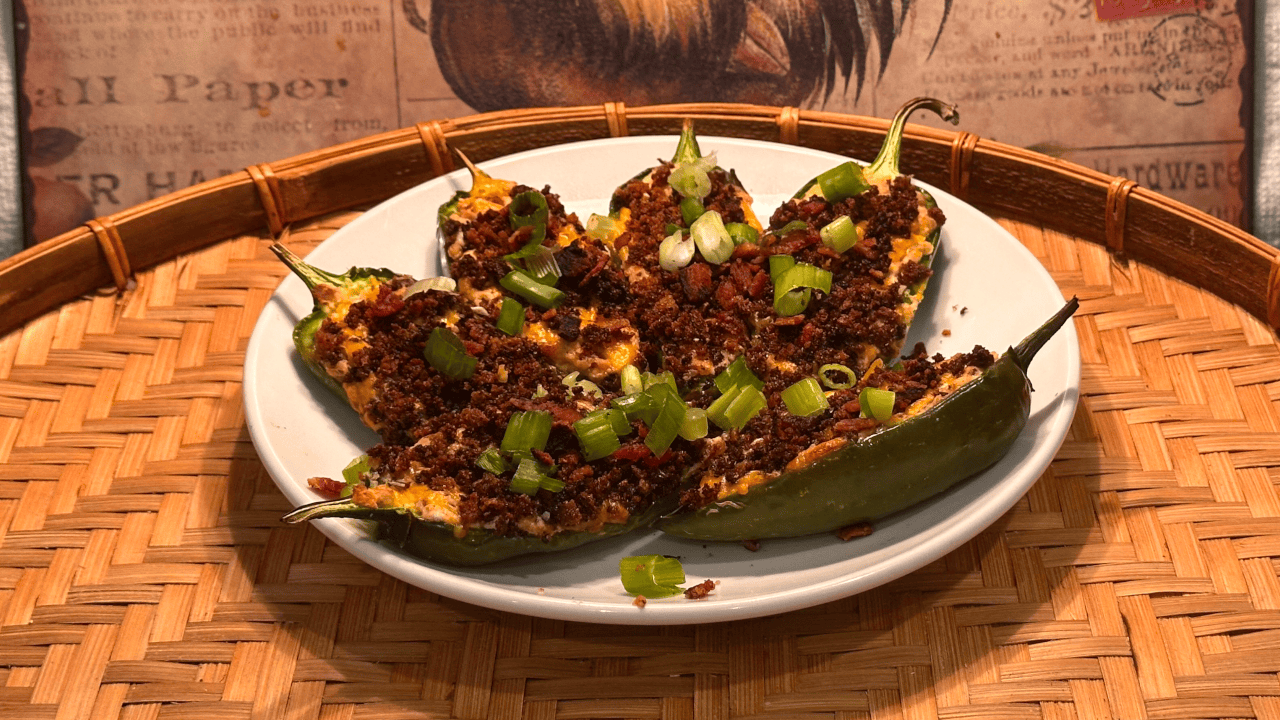
Step 8: Transfer Cooked Peppers to Serving Plate, Sprinkle w/ Reserved Bacon & Green Onions, & Enjoy!
Once the poppers are fully cooked, transfer them immediately to a serving plate, sprinkling them with some of the reserved bacon and green onions, if desired. And with that, your Jalapeño Poppers are ready to eat.