One of my favorite things to get on long road trips is beef jerky. The pure protein is a great way to stay energized and satiated on long drives without the sugar crash from other popular convenience store snacks. But, with the high salt content, you might be taking a bit more pit stops than needed. But one benefit of making your own is that you can adjust the salt levels to your own preferences and you’ll save a bit of time and money by not having to stop for your delicious salty snack while on the road.
In terms of the different cuts of jerky, I usually prefer cutting against the grain since I like my jerky very tender. Though, sometimes I enjoy a nice chewy piece of jerky that I can savor the flavor with. So, I recommend making a mix to have more variety, but of course, you can make it however you like.
Speaking of the flavor, another benefit of making your own jerky is that you can change the flavoring entirely up to your preferences. The marinade I created for this recipe is a pretty typical jerky flavoring, but you are of course welcome to experiment with other flavors such as adding chopped up peppers for a spicier taste, or using honey and barbecue to make honey barbecue jerky. You can even try experimenting with other types of meat, such as chicken, pork, or even more experimental meats like salmon. Just make sure to cut the meat thinly and make sure the meat is fully dry and jerky-fied after drying it out for the 4 hours or longer if needed.
The reason you want to dry out the meat fully is to keep the meat from spoiling. This is also why you want to remove as much of the fat as possible since fat retains moisture and will cause spoilage quickly. Speaking of which, jerky will keep at room temperature for about a week or in refrigeration for about a month.
But regardless of your preferred cut, flavor, or type of jerky, I recommend making a ton of jerky all at once so that you’ll have plenty to snack on on your road trips or even just lounging around your house.
Ingredients:
- One 3-pound or so round roast
- 1/2 packed cup brown sugar
- 1 cup soy sauce
- 2 tablespoons Worcestershire sauce
- 1 teaspoon paprika
- 1 teaspoon garlic powder
- 1 teaspoon onion powder
- 1 teaspoon red pepper flakes
- 1/2 cup apple cider vinegar or 1 teaspoon meat tenderizer
- 1 teaspoon of MSG
Special Equipment:
- A wire rack or two to cook your jerky on in the oven
Step 1: Slice Your Meat into ~1/4 Inch Pieces
First, we’ll want to slice our beef into ~1/4 inch pieces before marinating it, but if there’s any fat or silver skin, trim these off before you begin.
Additionally, you may place the beef into the freezer, for an hour or two, to help make slicing it a bit easier. But, once you’re ready to slice, you can choose between cutting it with or against the grain.
Cutting it with the grain will be a little easier to cut into thin strips, but it will result in a jerky that’s a bit more chewy. Cutting against the grain, however, will result in a more tender jerky, but it’s also a bit tougher to cut thinly in one piece.
When you’ve made your decision, to figure out the grain of a meat easily, use your knife to pull on the meat fibers to reveal the lines in the meat.
To cut with the grain, slice parallel with the lines of the fibers. To cut against the grain, slice perpendicular against these lines.
Step 2: Prepare the Marinade
Once your meat is sliced into pieces, we’ll prepare the marinade, so to a large bowl or resealable bag, combine the brown sugar, soy sauce, Worcestershire sauce, paprika, garlic powder, onion powder, red pepper flakes, apple cider vinegar or meat tenderizer, and MSG, and mix this until the sugar dissolves completely.
Step 3: Add Meat to Marinade & Marinate for 12 Hours/Overnight
Add the meat to the marinade and toss until all of the pieces are evenly coated.
Cover with plastic wrap or seal up the plastic bag and place it into a bowl to keep it from spilling and marinate this in the fridge for at least 12 hours or overnight.
During this time, make sure to toss the meat (or flip the bag) once or twice so that all the meat gets marinated evenly.
Step 4: Preheat Oven & Prepare Meat Slices on Wire Racks
Once your meat has fully marinated, it’s time to turn it into jerky, so preheat the oven to 175°F and while we wait, line two baking sheets with some aluminum foil and then place a wire rack on top of each one.
Grab your meat slices from the marinade and lay them on top of the wire racks in a single layer, leaving room between each one.
Step 5: Bake Meat for 3-4 Hours, Rotating Pans Halfway Through
Your oven should be preheated by now, so place your pans into the oven and bake these for 3-4 hours.
Make sure to rotate your pans from front to back and then top to bottom about halfway through to make sure all of your jerky evenly cooks and dries out.
Step 6: Check if Meat has Fully Dried
Then, once you’re done waiting, to check if your meat has fully dried out and turned into jerky, remove a piece from the wire rack and let it cool to room temperature.
It should be dry to the touch with a leather-like appearance on both sides. Or, well how jerky normally looks!
If it’s still a little wet, put it back into the oven for another 30 minutes or so and check again until it’s ready.
Step 7: Remove Meat from Oven, Cool, & Enjoy
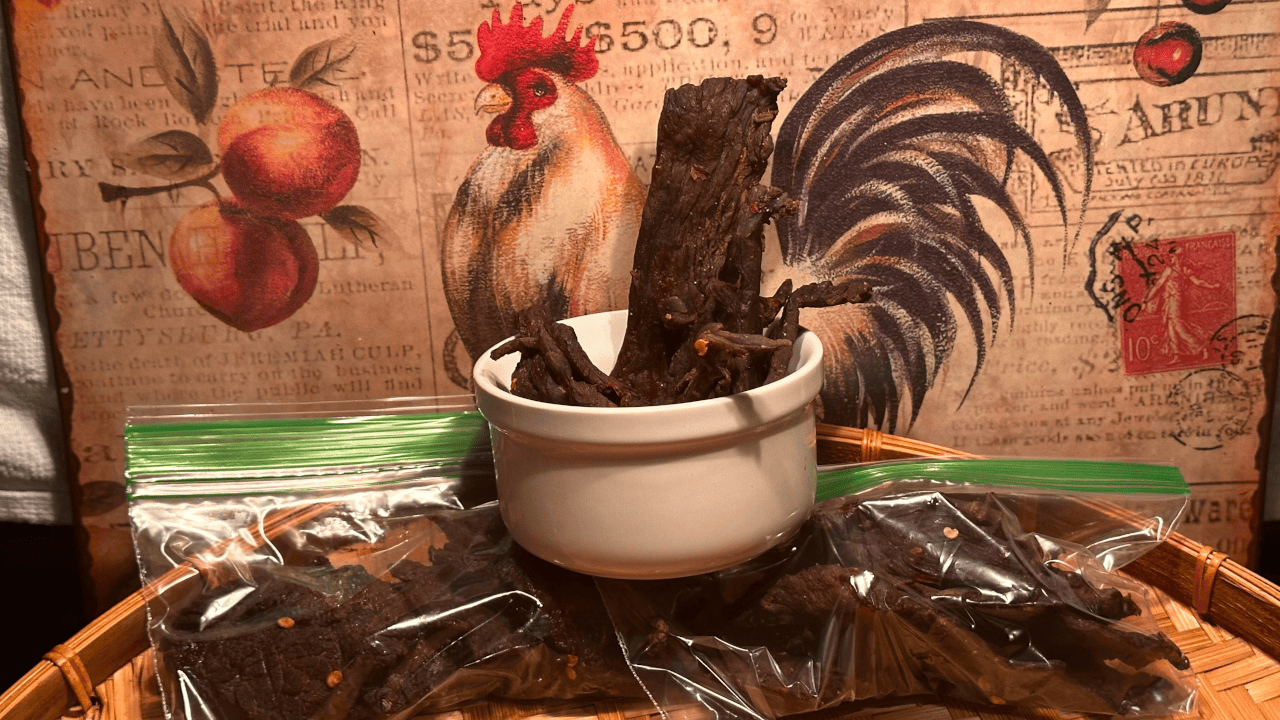
But, once all of your jerky is fully jerkied, remove them from the oven and let them cool to room temperature before storing them into an air-tight plastic container, resealable bag, or resealable glass jar and with that, your homemade beef jerky is ready to eat.